WARNING: The following post assumes that you have, at least, a moderate level of experience with woodworking. Unless you want to be playing keyboards with just your thumbs, don’t just grab a piece of wood and take a jigsaw to it.
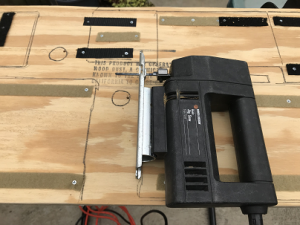
[Fun Fact: My father gave my this jigsaw and a drill when I was 11 or 12 years old. The drill died about 5 years ago, but the jigsaw, much like a troubled teenager, just keeps cutting!]
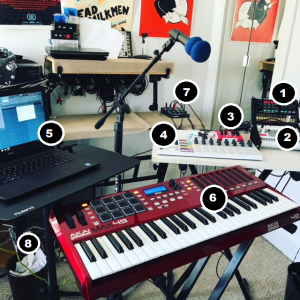
After my second 7th Victim (14th Victim???) show, it became clear to me that my current method for transporting and setting up my synths was not working. Basically, I was boxing up my individual synths, controllers, and mixer, transporting them to the show. Then reassembling them on the spot. So, yeah, it was taking 10 to 20 minutes to set up for a 30 minute set.
My intimal plan was to buy a pedalboard and case large enough to accommodate my live setup. This seemed like a great idea until I looked at the prices ($200 – $500). Then it hit me that I already own both hard and soft cases that I could use to transport my synths. I just needed a “synthboard” on which to mount them (ewwww!). If you already has a case, and would like to create a synthboad that will fit inside it, the following steps should – hopefully – be of some help. If you don’t already own a case (and aren’t a cheapskate like me), I’d strongly suggest just purchasing a pedalboard with a hard case.
Step One: Choose a piece of wood and choose that piece of wood… wisely.
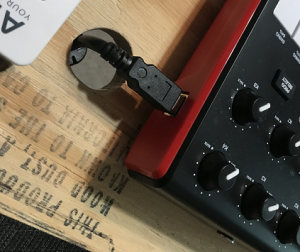
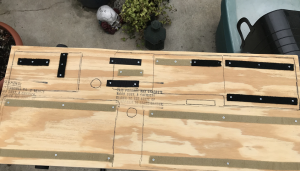
I went with a piece of plywood which had the following waring emblazoned upon it in a most artistic fashion.
Before I cut it down to size, I showed it to my friend Paul.
Me: What dumb Son-of-a-Trump is this waring meant for?
Paul: Yeah. It’s like someone might be shocked to discover that a piece of wood contains wood dust.
Me: It’s like putting up a sign at the museum which reads “Warning: Mummies Might Have Dry Skin”.
Paul: Well, there’s only wood dust if someone – you know- actually cuts into it. Maybe you’re just meant to admire it…from afar.
Me: At least it’s only known to cause cancer in California. I’m sawing into it in PA, so I should be just fine.
Be sure to sand the living shit outta your board after you cut (There was a surprising amount of wood dust when I did this). No one wants splinters. Well, almost no one. I tend to speak in generalities.
Step Two: It’s not the size that matters; it’s where you stick it.
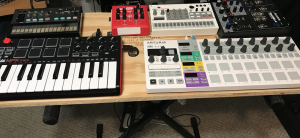
So that my fully-loaded sythboard could fit comfortably into either of my cases, I had to go with a maximum size of 32” wide x 13” deep. I had measured out my components beforehand, so I knew that they’d fit into an area this size, with some room to spare, but I needed to figure out where to place them for maximum performance (I.e. so that I could get to each component quickly, and so that I didn’t keep reaching across one component to get to another).
Once you’re 95% certain about the placement of your components, trace their outlines onto board. First using a pencil and then a marker.
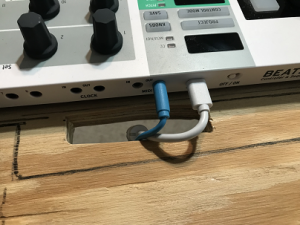
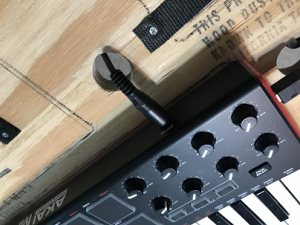
You’ll also want to consider cutting some holes in the board to accommodate things like footswitches and midi connectors. If you do this, remember to sand the holy shit outta these openings – you never know what appendage might be inserted into them.
Step Three: Velcro – Miracle product or tool of Satan?
One you’ve got the outlines of your components traced, apply strips of Velcro to bottom of each component ($20 will buy you about 10 feet of Velcro – easily enough for this project. Then, measure out where you placed the Velcro strips on and replicate this on the board.
Next, secure the Velcro strips on the board with small woodscrews. Why? Because I’ve found that why Velcro tends to stick nicely to plastic, it can be hit-or-miss on wood.
As Velcro will hold up to 5lbs in place, your equipment will now be secure. Go forth and conquer in the name of The Synth!
